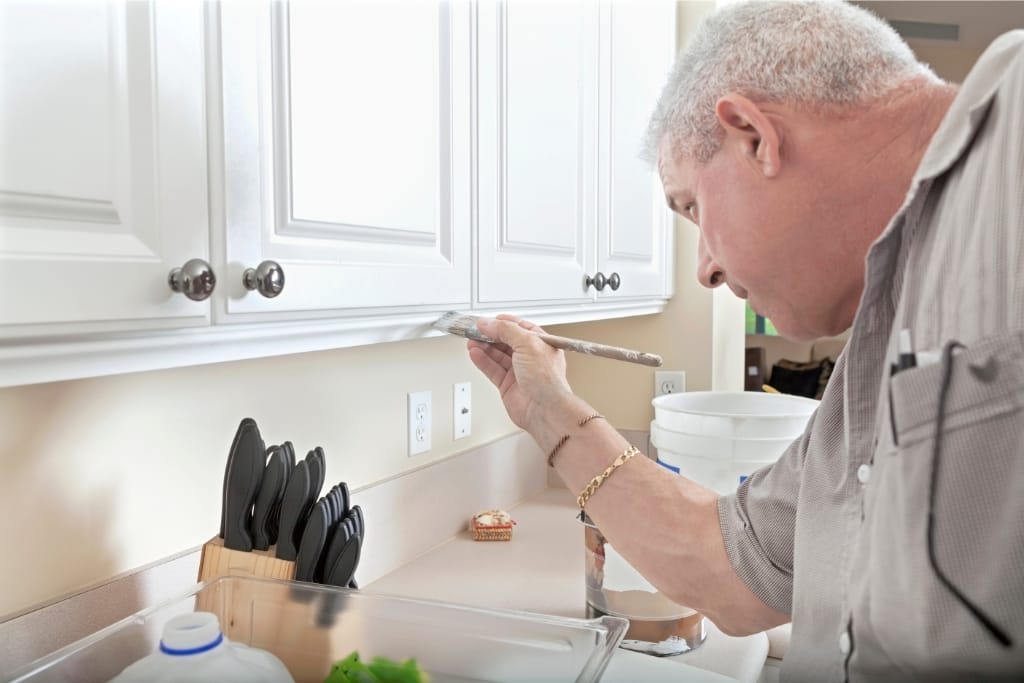
Painting your kitchen cabinets is one of the most impactful and cost-effective ways to transform the entire look and feel of your space.
Whether you're aiming for a sleek modern finish, a bold color pop, or a timeless classic vibe, a fresh coat of paint can breathe new life into the heart of your home.
With proper preparation, the right tools, and a little patience, you can achieve professional-looking results that stand the test of time.
If you're ready to give your kitchen a stunning makeover and want to ensure the process goes smoothly, follow these must-know tips to achieve a flawless finish.
1)) Choose The Right Paint
Choosing the right paint is critical to achieving a durable and professional finish that suits the demands of a busy kitchen.
Look for high-quality paints specifically designed for cabinetry or furniture, as they offer superior adhesion, durability, and resistance to stains, grease, and moisture.
Satin, semi-gloss, or gloss finishes are excellent choices for kitchen cabinets, as they provide a smooth appearance while being easy to clean and maintain.
Take the time to select a color that complements your kitchen’s overall design and lighting to ensure a cohesive and polished look.
The right paint will not only enhance the beauty of your cabinets but also ensure they stand up to everyday use for years to come.
2)) Clean And Prep Cabinets
Preparing your cabinets properly is the foundation of a successful painting project.
Start by removing all cabinet doors, drawers, and hardware to ensure you can work on a clean and even surface.
Next, thoroughly clean all surfaces with a degreaser or a mixture of warm water and mild detergent to eliminate grease, residue, and dirt that can hinder paint adhesion.
3)) Sand Thoroughly
Once clean, examine the cabinets for any damage, sanding any rough areas and filling in cracks or holes with wood filler as needed.
Sanding your cabinets is an essential step to ensure the paint properly adheres and creates a smooth, professional finish.
Begin with medium-grit sandpaper to remove any existing gloss or finish from the surface, then move to fine-grit sandpaper for a more refined texture.
Pay attention to edges, corners, and any intricate details to ensure every part of the cabinet is evenly sanded.
After sanding, clean the surface with a damp cloth or a tack cloth to remove dust and debris, leaving it completely clean and ready for priming.
This thorough sanding process not only improves adhesion but also contributes to a long-lasting, polished look.
4)) Use A Primer For Durability
Using a primer is a crucial step in achieving a smooth, durable finish that will stand the test of time.
A high-quality primer not only helps the paint adhere better to the cabinet surface but also provides a uniform base that prevents stains, wood grain, or previous colors from showing through the final coat.
Be sure to choose a primer that is compatible with your chosen paint and suitable for kitchen environments where durability is key.
Applying the primer in thin, even layers ensures better coverage and minimizes the risk of unsightly brush marks or uneven textures.
Taking the time to prime properly will enhance the longevity and appearance of your painted cabinets, ensuring they look stunning for years to come.
5)) Apply Thin Paint Layers
Applying thin paint layers is essential to achieving a smooth, professional finish while avoiding drips and uneven coverage.
Start with a high-quality brush or roller, and work in long, even strokes to apply the paint consistently.
Allow each coat to dry completely before adding another, as rushing the process can lead to texture issues or peeling over time.
Thin layers not only dry faster but also create a more durable and flawless result when built up gradually.
With patience and precision, painting in thin layers will ensure your cabinets are vibrant, polished, and ready to elevate your kitchen's appearance.
6)) Allow Proper Drying Time
Allowing proper drying time is a key factor in ensuring a long-lasting, professional finish for your painted cabinets.
Be sure to follow the manufacturer’s instructions for drying times between each coat of primer and paint, as rushing this step can lead to imperfections such as smudging, uneven textures, or paint peeling.
Place the cabinets in a dust-free, well-ventilated area to prevent contaminants from settling on the wet paint.
Patience is critical at this stage, as giving each layer sufficient time to thoroughly dry will result in a smoother, more durable finish.
Taking the extra time during drying will ensure your cabinets maintain their vibrant look and withstand the rigors of a busy kitchen.
7)) Add A Protective Finish
Adding a protective finish is the final step to ensure your painted cabinets stay beautiful and resistant to daily wear and tear.
A clear topcoat, such as polyurethane or a water-based sealer, provides a durable layer that shields against scratches, stains, and moisture.
Choose a finish that complements the paint’s sheen, whether it's matte, satin, or glossy, to maintain the desired aesthetic of your cabinets.
Apply the protective layer in thin, even coats, allowing adequate drying time between applications to avoid streaks or a tacky surface.
Taking this step will preserve the quality and appearance of your cabinets, keeping them looking fresh and polished over time.
Conclusion
Transforming your cabinets with a fresh coat of paint can completely revitalize your space and give your kitchen a brand-new look.
Following each step with care, from sanding and priming to painting and finishing, ensures that the results are both stunning and durable.
By dedicating time to proper preparation and execution, you can achieve a professional-quality finish that lasts for years, turning your cabinets into a true centerpiece of your home.
Download Our Free E-book!


